Note: This was written for a “Project Based Research” class I took in high school, which consisted of weekly checkins. During the year, I was encouraged to work on various projects, and document my progress. At the end of the year, I had to turn in a portfolio, which is what the following writeup is. There is some duplication between this and the appropriate project pages. This is preserved for reference, the most up to date information is on the appropriate project pages.
I’ve done a lot this year! This page is intended to be a comprehensive portfolio showcase of my PBR work during the 2020-2021 school year. While this list of projects isn’t exhaustive, I believe that this page should give you a very good idea of how I have spent my time this year.
I have also uploaded all of my “Friday Check In” assignments at the very bottom, in case you want to get closer inside my head as to my thought process when completing these projects.
Project 1: RGB LED Panels
Going into PBR this year, I was most looking forward to working on this project in particular. The goal of this project was to create a low cost, open source alternative to that of the expensive and beautiful Nanoleaf Light Panels. I wanted my next project to directly build off of my knowledge from my LED Clock Project while still forcing me to reach well out of my confort zone.
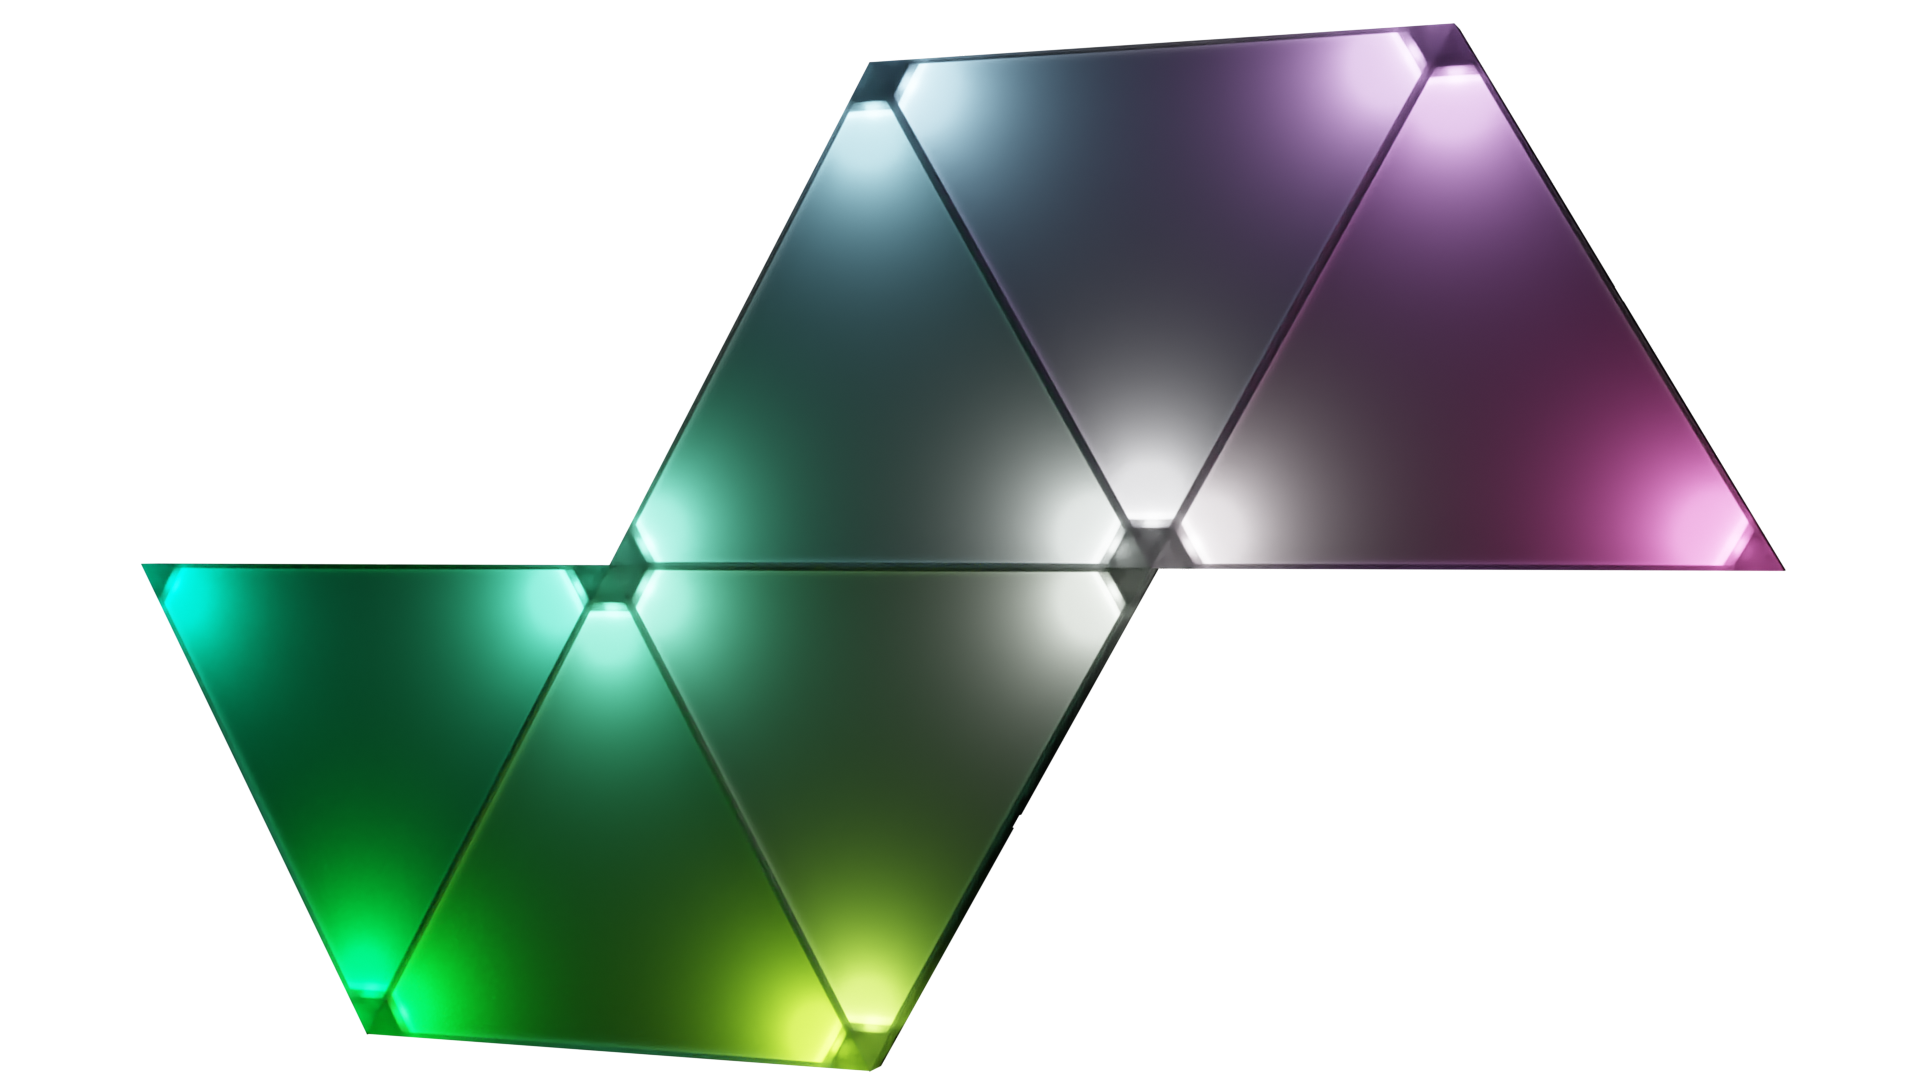
Concept Render
Design Concept
At the very beginning of the project, I set some design goals for myself. By the end of the project, I decided that the final product must be of a lower final cost to produce, have thinner bezels/corners, and integrate with existing smart home systems, while also looking good and working reliably.
Right away, these requirements influenced my initial design. My commitment to low cost and easy integration meant that I had to keep the component count low and do a lot of testing before I could create a final product. As such, my initial design concept came in the form of a breadboard compatible PCB Sketch where I generalized the shape of a board I could use to test components and develop my code for.
Creating the CAD
After I had completed some initial research and began to flush out the component list, I moved on to transferring my idea into the computer. This meant beginning with a simple schematic and working my way towards a manufacturable PCB. During this stage I did an absolute ton of new research into things I didn’t have experience with yet. (Air Soldering, C++ Programming, Etc.)

In particular, I spent a lot of time researching the power circuit and finding low cost suitable parts. Again, my low price target meant that I had to keep the component count to a minimum, without creating excessive heat or being overkill for the components I wanted to use.

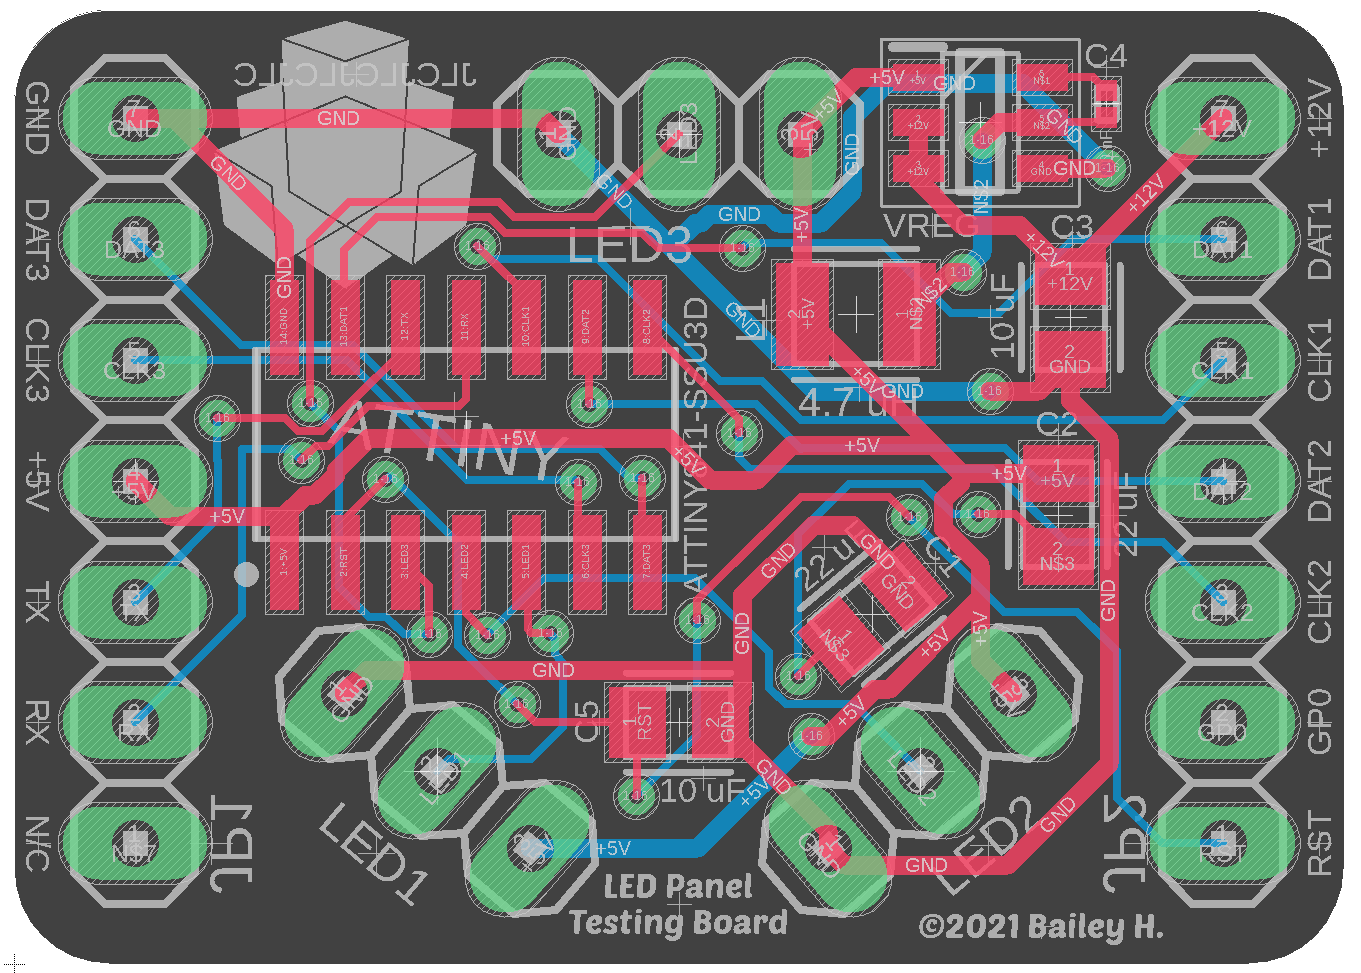
The Final CAD Assembly
Assembly
After the long and arduous process of component choice, research, and quintuple checking everything wouldn’t explode the minute I plugged it into power, I began the secondary process of ordering and assembling the PCBs. It’s easy to see everything in cad and think you know something front and back, but seeing the thing you created in person is truly something else. Everything is so small!
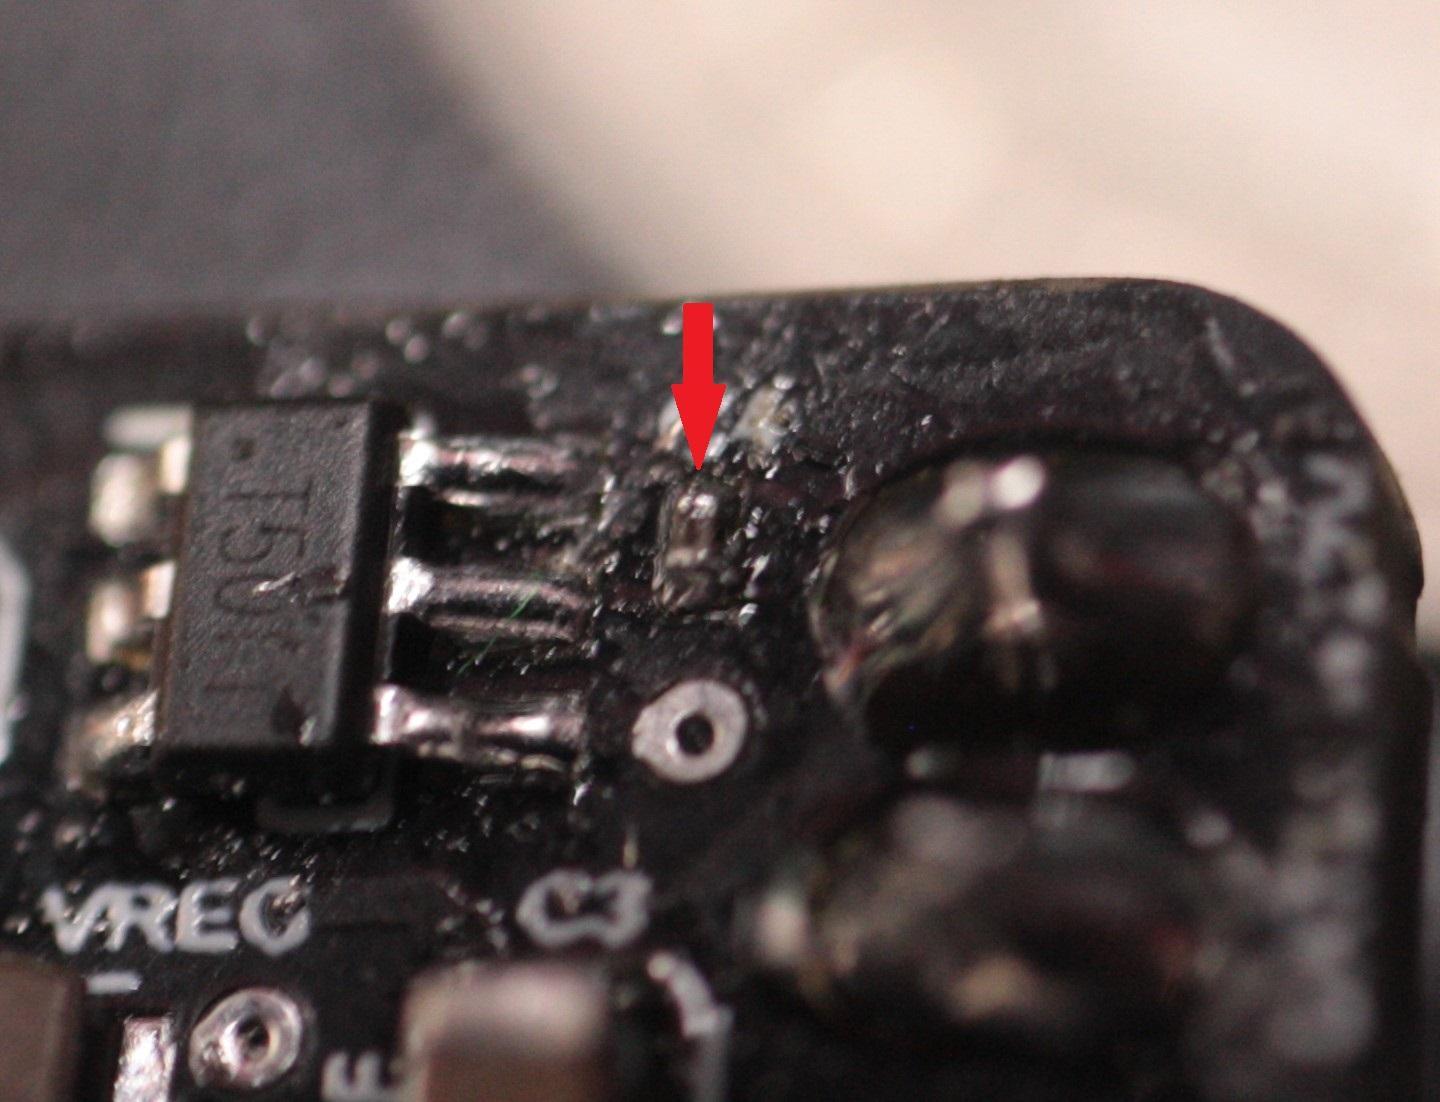
The smallest component I had to place was <1mm!
In order to complete the assembly, I learned how to hot air solder. Instead of using a hot iron with a metal tip to heat components individually, you lay them all out at once with some solder paste and blast them with hot air until everything melts into place. This means that you can place many components at once, and this process is similar to the technique used in large scale manufacturing. After much trial and error, I was finally able to get a board up and running.
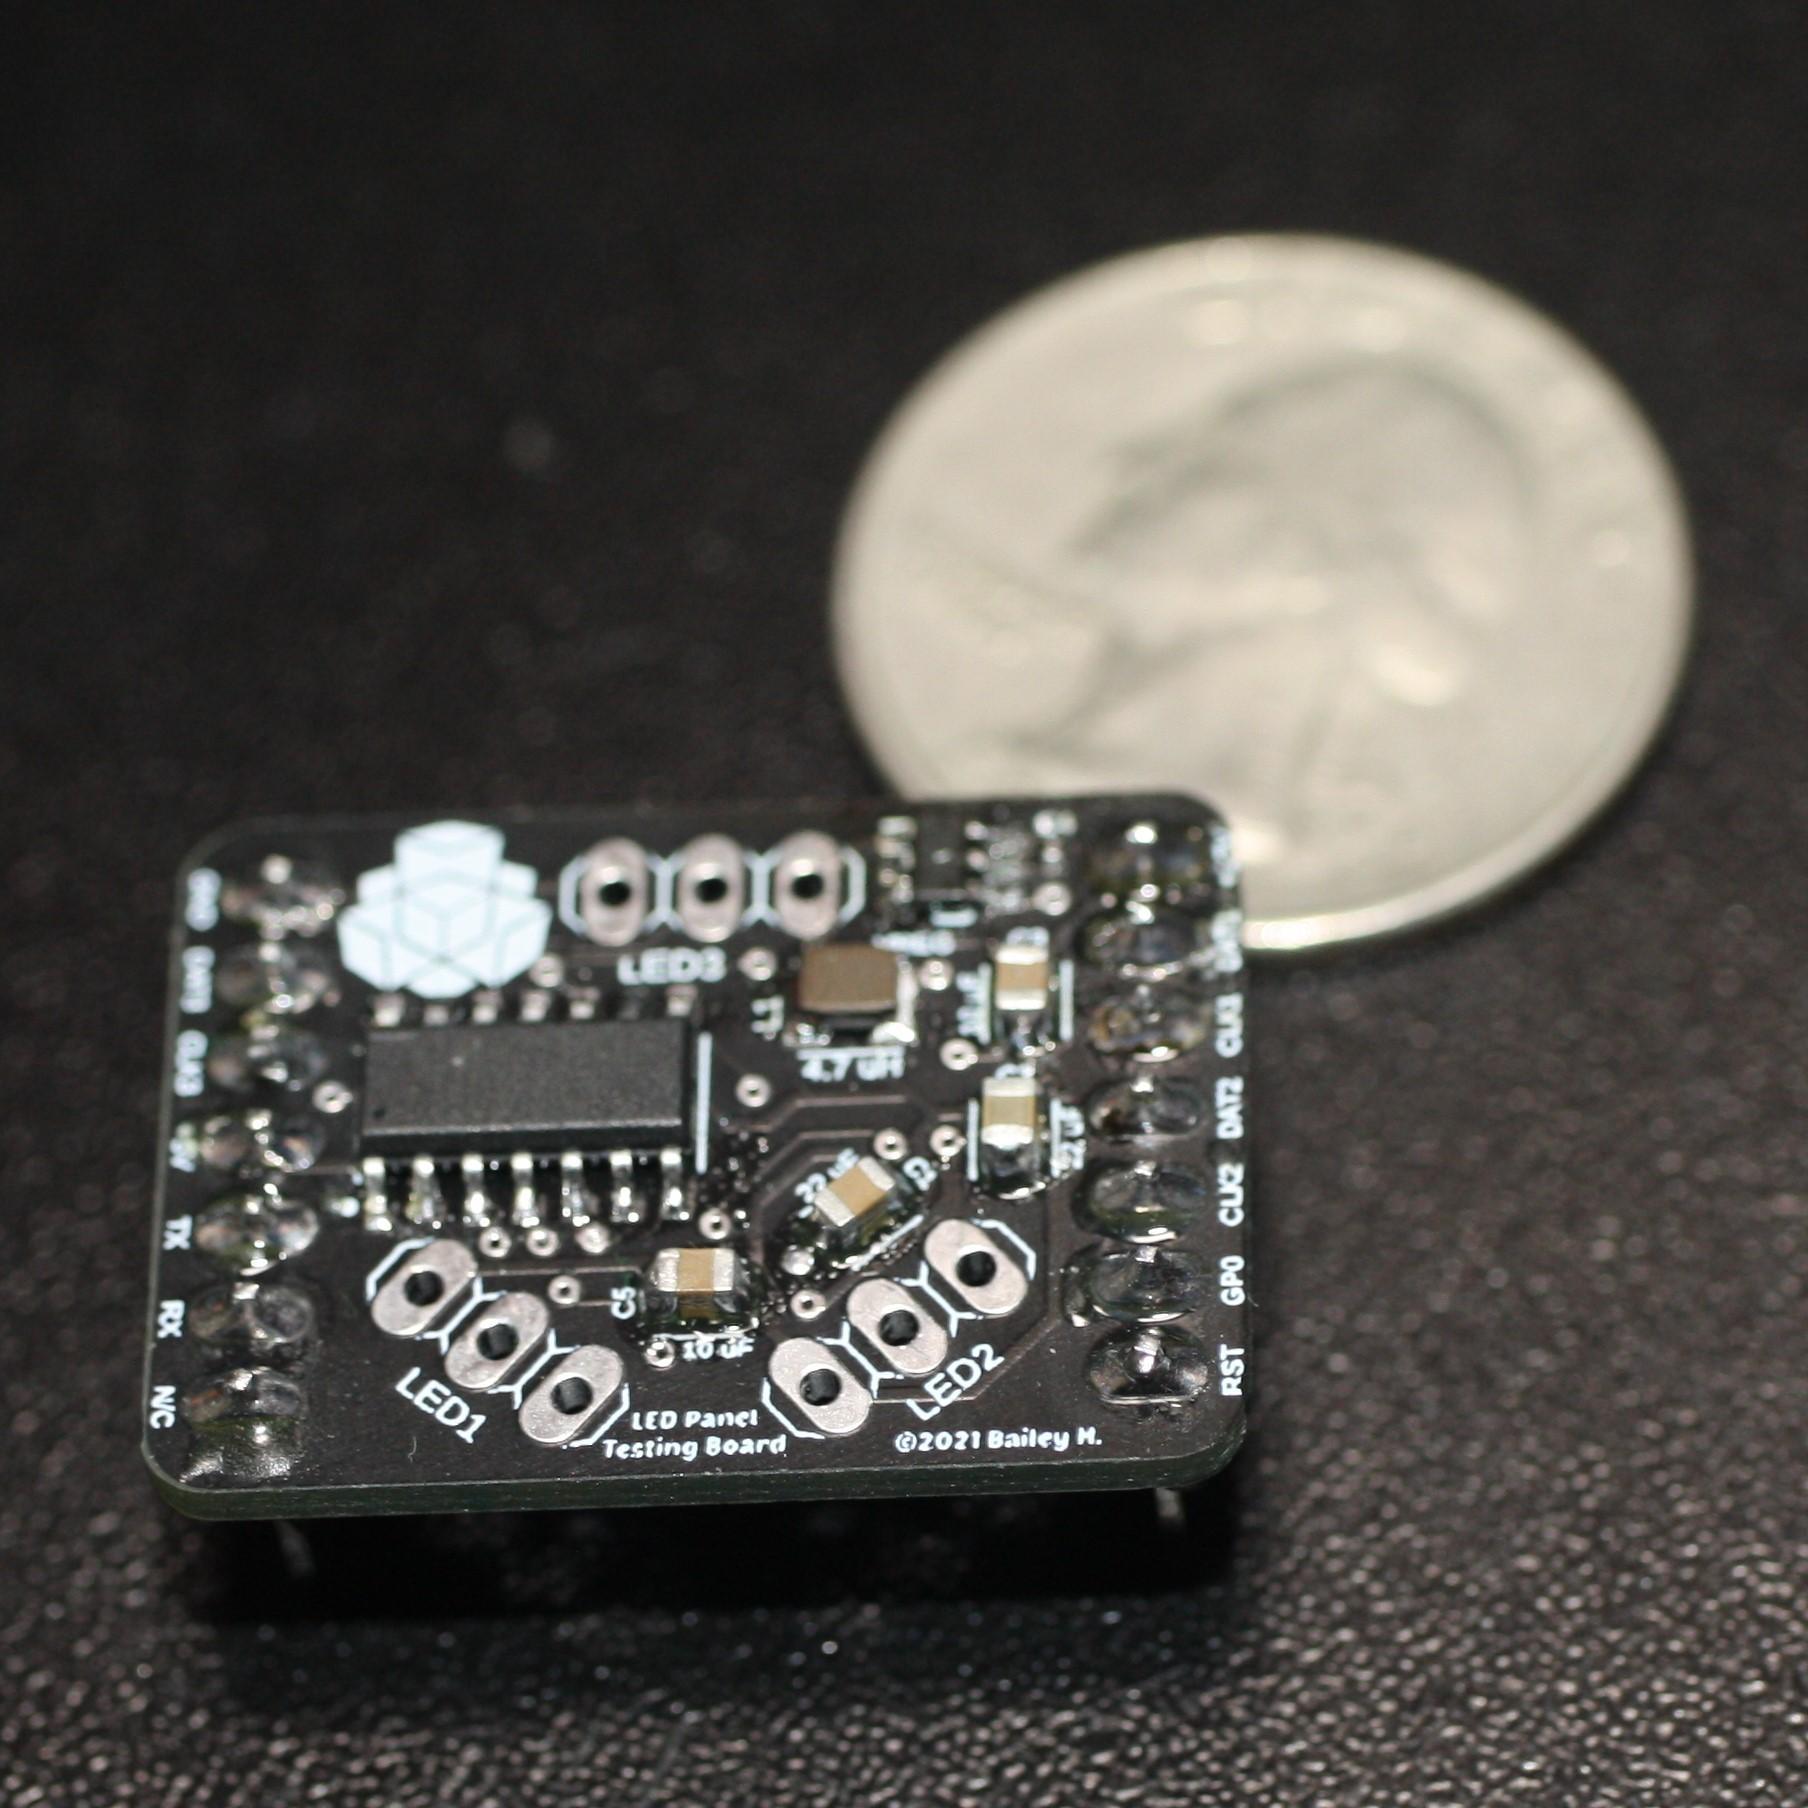
An assembled board, sans LEDs
Issues
Of course, things couldn’t all go smoothly. After painstakingly assembling several boards, I realized that I had a couple difficult issues to deal with before I could begin programming the final product. Initially, I was unable to program the boards. After much troubleshooting, I discovered that the pinouts I had used when laying out the pins corresponded to an older revision of the microcontroller than I had ordered, so several pins were swapped out of place. This meant that actually flashing programs onto the board took quite a bit more effort than it should have. I won’t get too in depth, but it quite the pain until I just recently found a setup that works.
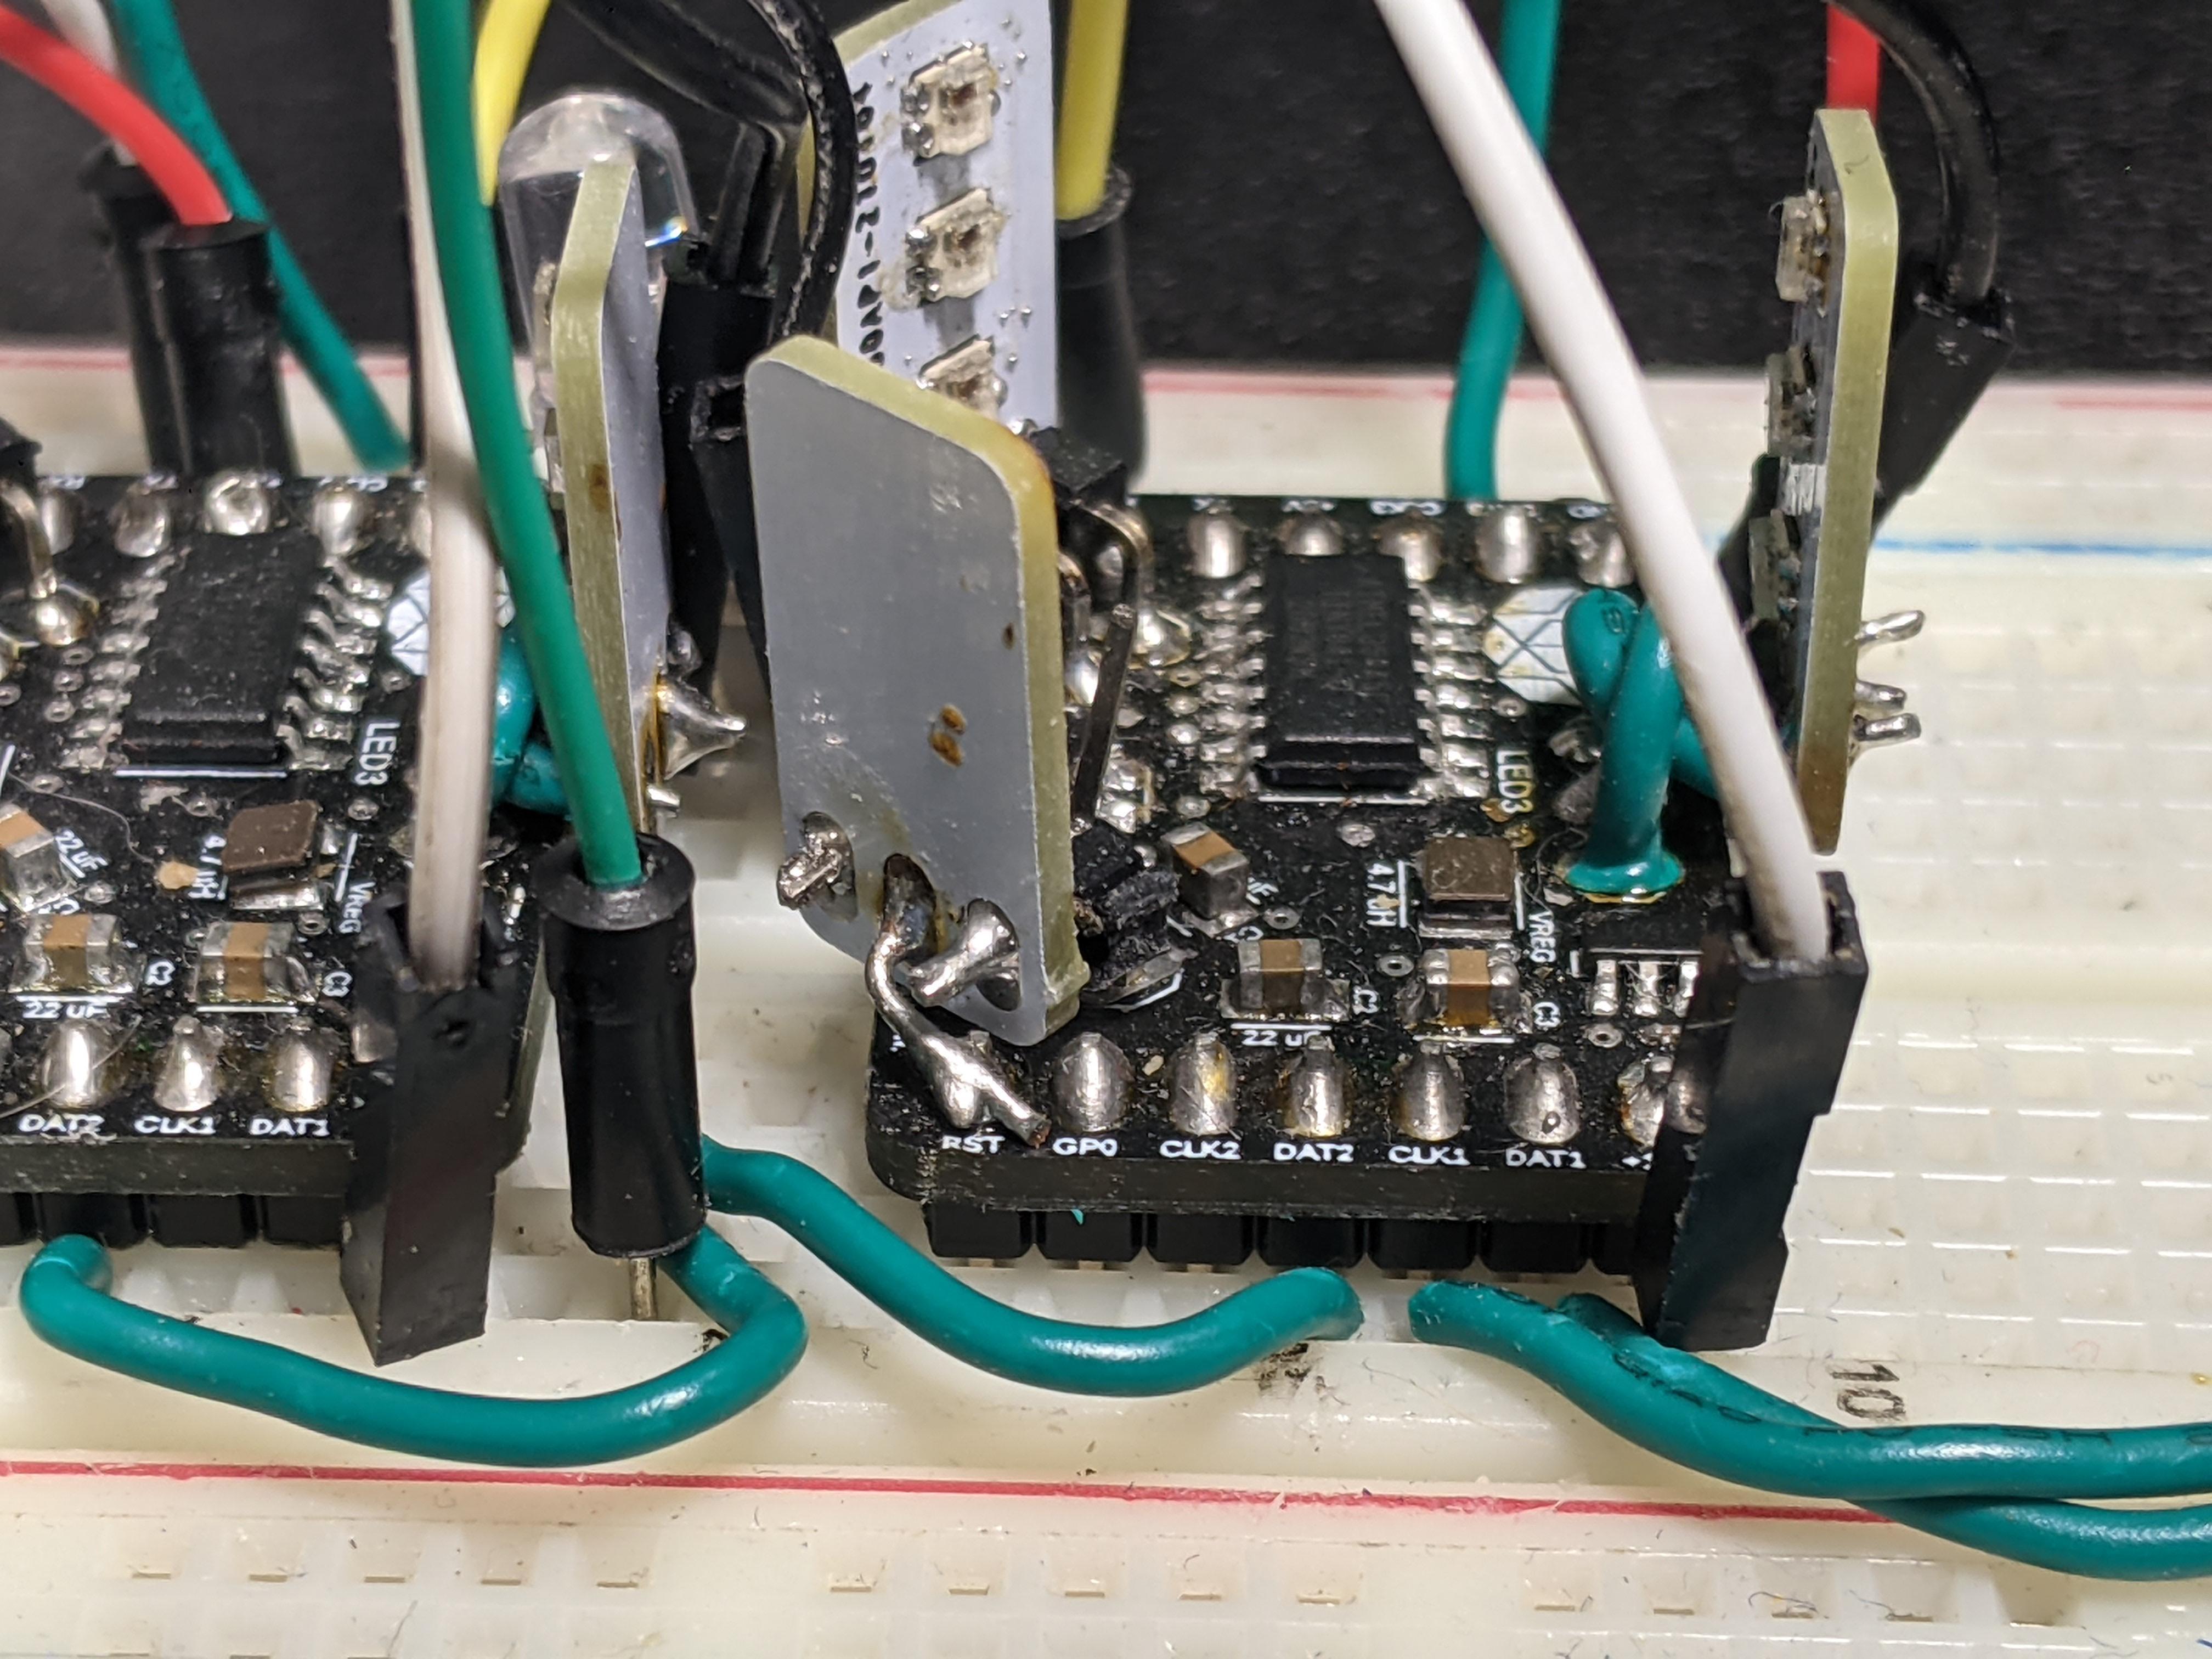
What I thought the reset pin was actually an LED data pin!
Programming
But how will the programming for these panels work? How will the end user control them? From the start I wanted everything to be modular, with each panel acting as its own completely independent device. This means that I have to create a program that can both send and receive on every side, and negotiate with one another in order to safely and efficiently move data around. In order to do this, I have begun the programming process by abstracting the protocol each panel will need in order to communicate with one another. Put simply, it won’t be easy. I’m still new to programming in C++ where memory management, pointers, and special data types are all new to me. Alas, I am still hopeful, and plan to finish the programming step over the summer break.
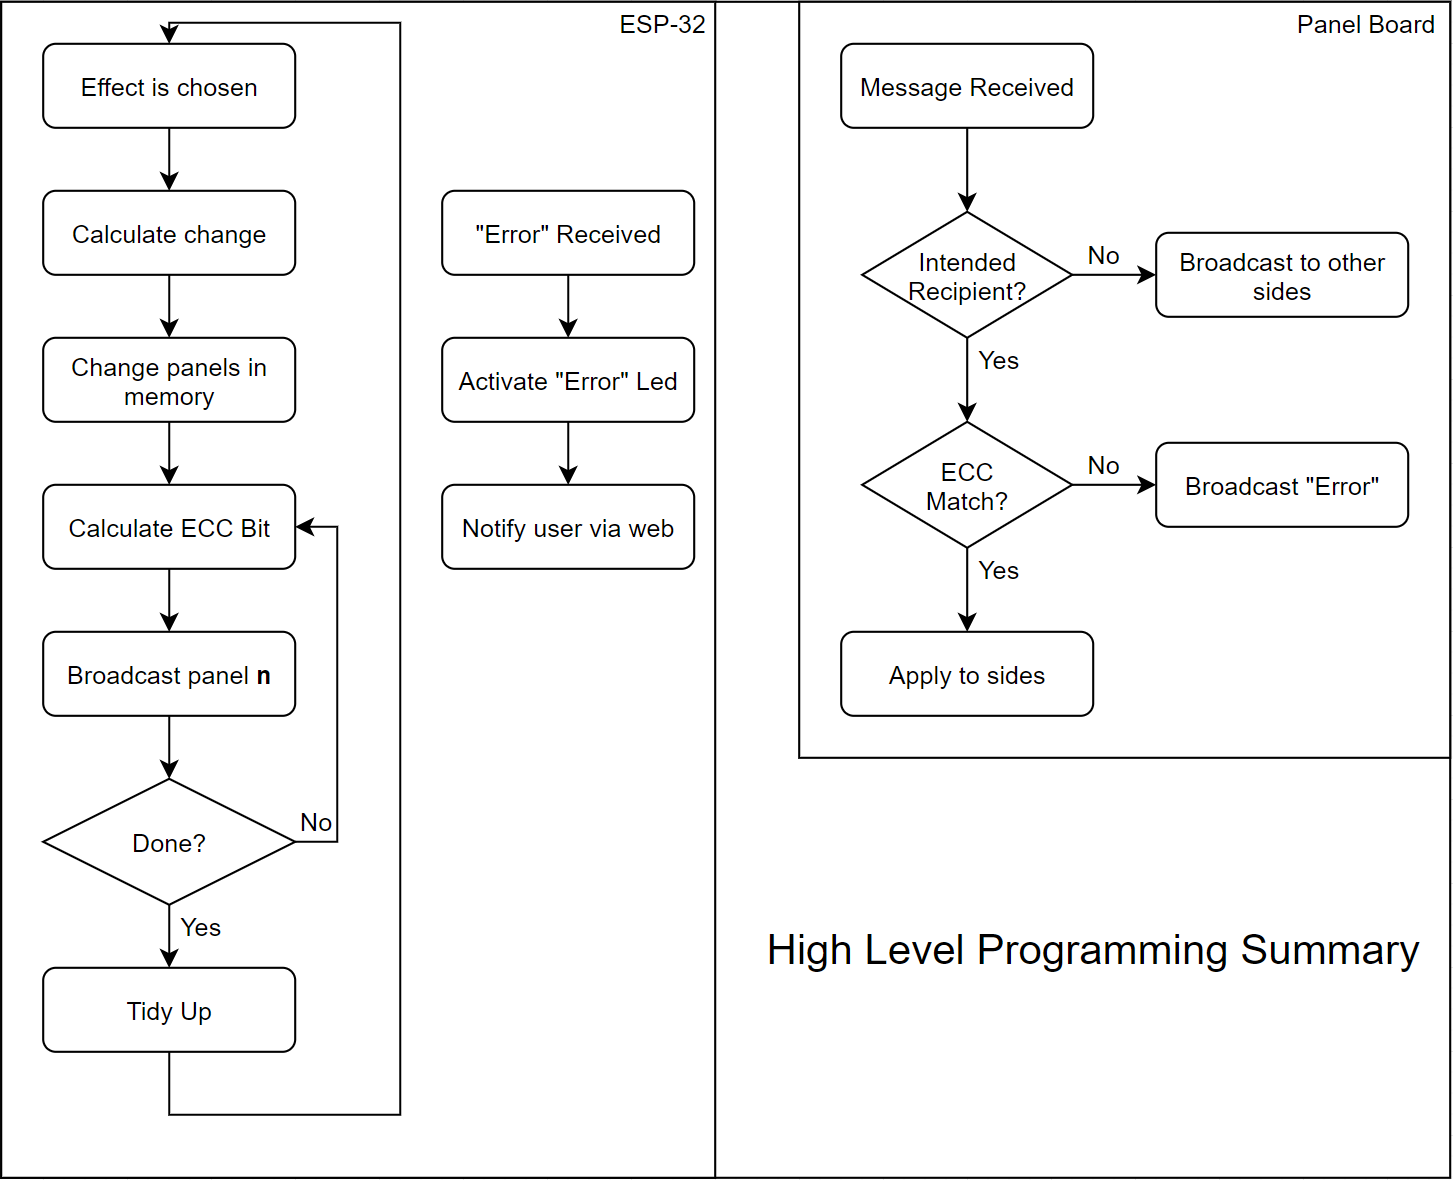
High Level Programming Summary
For the final product, I want the user to be able to interact with the panels in two ways. First, through a simple app or web app. There, the user should be able to define certain effects and presets. Other features, like timed lights and audio interactivity might also be added. Second, the user should be able to interact with the panels through some sort of home automation software. Apple HomeKit, Amazon Alexa, or Home Assistant, preferably. There are a lot of existing libraries available for the second option, so I don’t anticipate running into too many issues with that.
Current Progress
Here’s where I’m at. An ESP8266 (placeholder for esp32) is able to create a virtual “panel” in memory using custom C++ classes, and can then transmit that information reliably to individual boards, which then display it. In some ways, I’m almost there. The board design itself including the power circuit and leds are working flawlessly, meaning that I should have a very steady foundation to build on as I move forward. Unfortunately, the issues with each board only being configurable as a single controller or receiver means that I will likely have to resort to a custom protocol which will require much more work to develop as I am completely unfamiliar with that sort of thing. As such, the ESP can only talk to one board at a time and daisy chaining them together into a sort of “mesh” network doesn’t seem close at hand. I’m looking forward to seeing how this project turns out, and I am expecting to get much further over the upcoming summer break.
Project 2: 3D Rendering & Modeling
Also during this year, I spent quite a bit of time learning new techniques in 3d modeling and scene design. Although I didn’t take any formal lessons, I have definitely improved over the course of this year. To celebrate this improvement and to create a comparison for future years, I have put together a fairly simple demo reel for my work. Here it is.
Most of my work was done in blender, with a tiny amount of work being done in Photoshop and GIMP for texturing and compositing. I didn’t focus too heavily on actual modeling, and as such I believe that is where I should focus most of my 3d time in the upcoming year. I … definitely have a long way to go.
Most of my major projects from this year, and projects in the future, can be found at my Artstation. I am still an extreme newbie, but I hope to keep this hobby going for a long time.
Project 3: Video Editing & Production
In addition to my existing work on my LED Panel project, I also completed several other more personal projects during the year which required me to complete several YouTube videos. The best example of comes in the form of my Smart Monitor Showcase video. In it, I chronicle the creation and usage of a “Smart Home Monitor” which I use to take quick glances into the smart home services and servers I use every day. The creation of this video and the ones before it have taught me an absolute ton about video editing and production, and each one has given me an opportunity to critique myself and improve my techniques for future iterations. With my next upcoming videos, I will be doing a lot more pre-production and editing work in order to make things as professional as possible. If you are interested, this website’s home page features all of my videos, split into the catagories of Technology and Personal/Gaming.

My most recent editing timeline
In addition to editing together professional videos focused on technology, I have also spent quite a bit of time editing together videos focused on highlighting gameplay from my occasional Twitch stream. This isn’t so much in order to gain followers or showcase my gameplay as much as it is an excuse to gain more experience with video editing and to speed up my process while also having fun.
Finally, I have very recently begun the process of learning some expanded skills that are applicable in general filmmaking in addition to video editing. In particular, I have been focusing on learning basic color grading. It is a very interesting and engaging process, and I couldn’t ask for a better program than Davinci Resolve for it.
Project 4: Website Creation
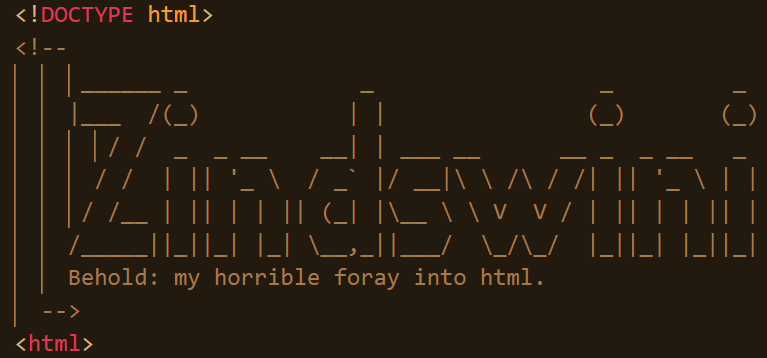
At the start of this school year, I acquired this domain and a virtual server to host it on. When I started, I knew very little about html, and effectively nothing about CSS. Through the painful trial and error of creating this website from scratch, I now have a decent understanding of how static web pages are created. Despite being frustrating at times, I did find the process rewarding, as graphic design and “front-end” programming are two things I still know very little about. It was a good learning experience, and I think that the final product, while still fairly basic, meets the goal I set out to achieve. There have been many iterations, but I suspect it will stay largely the same for a while.
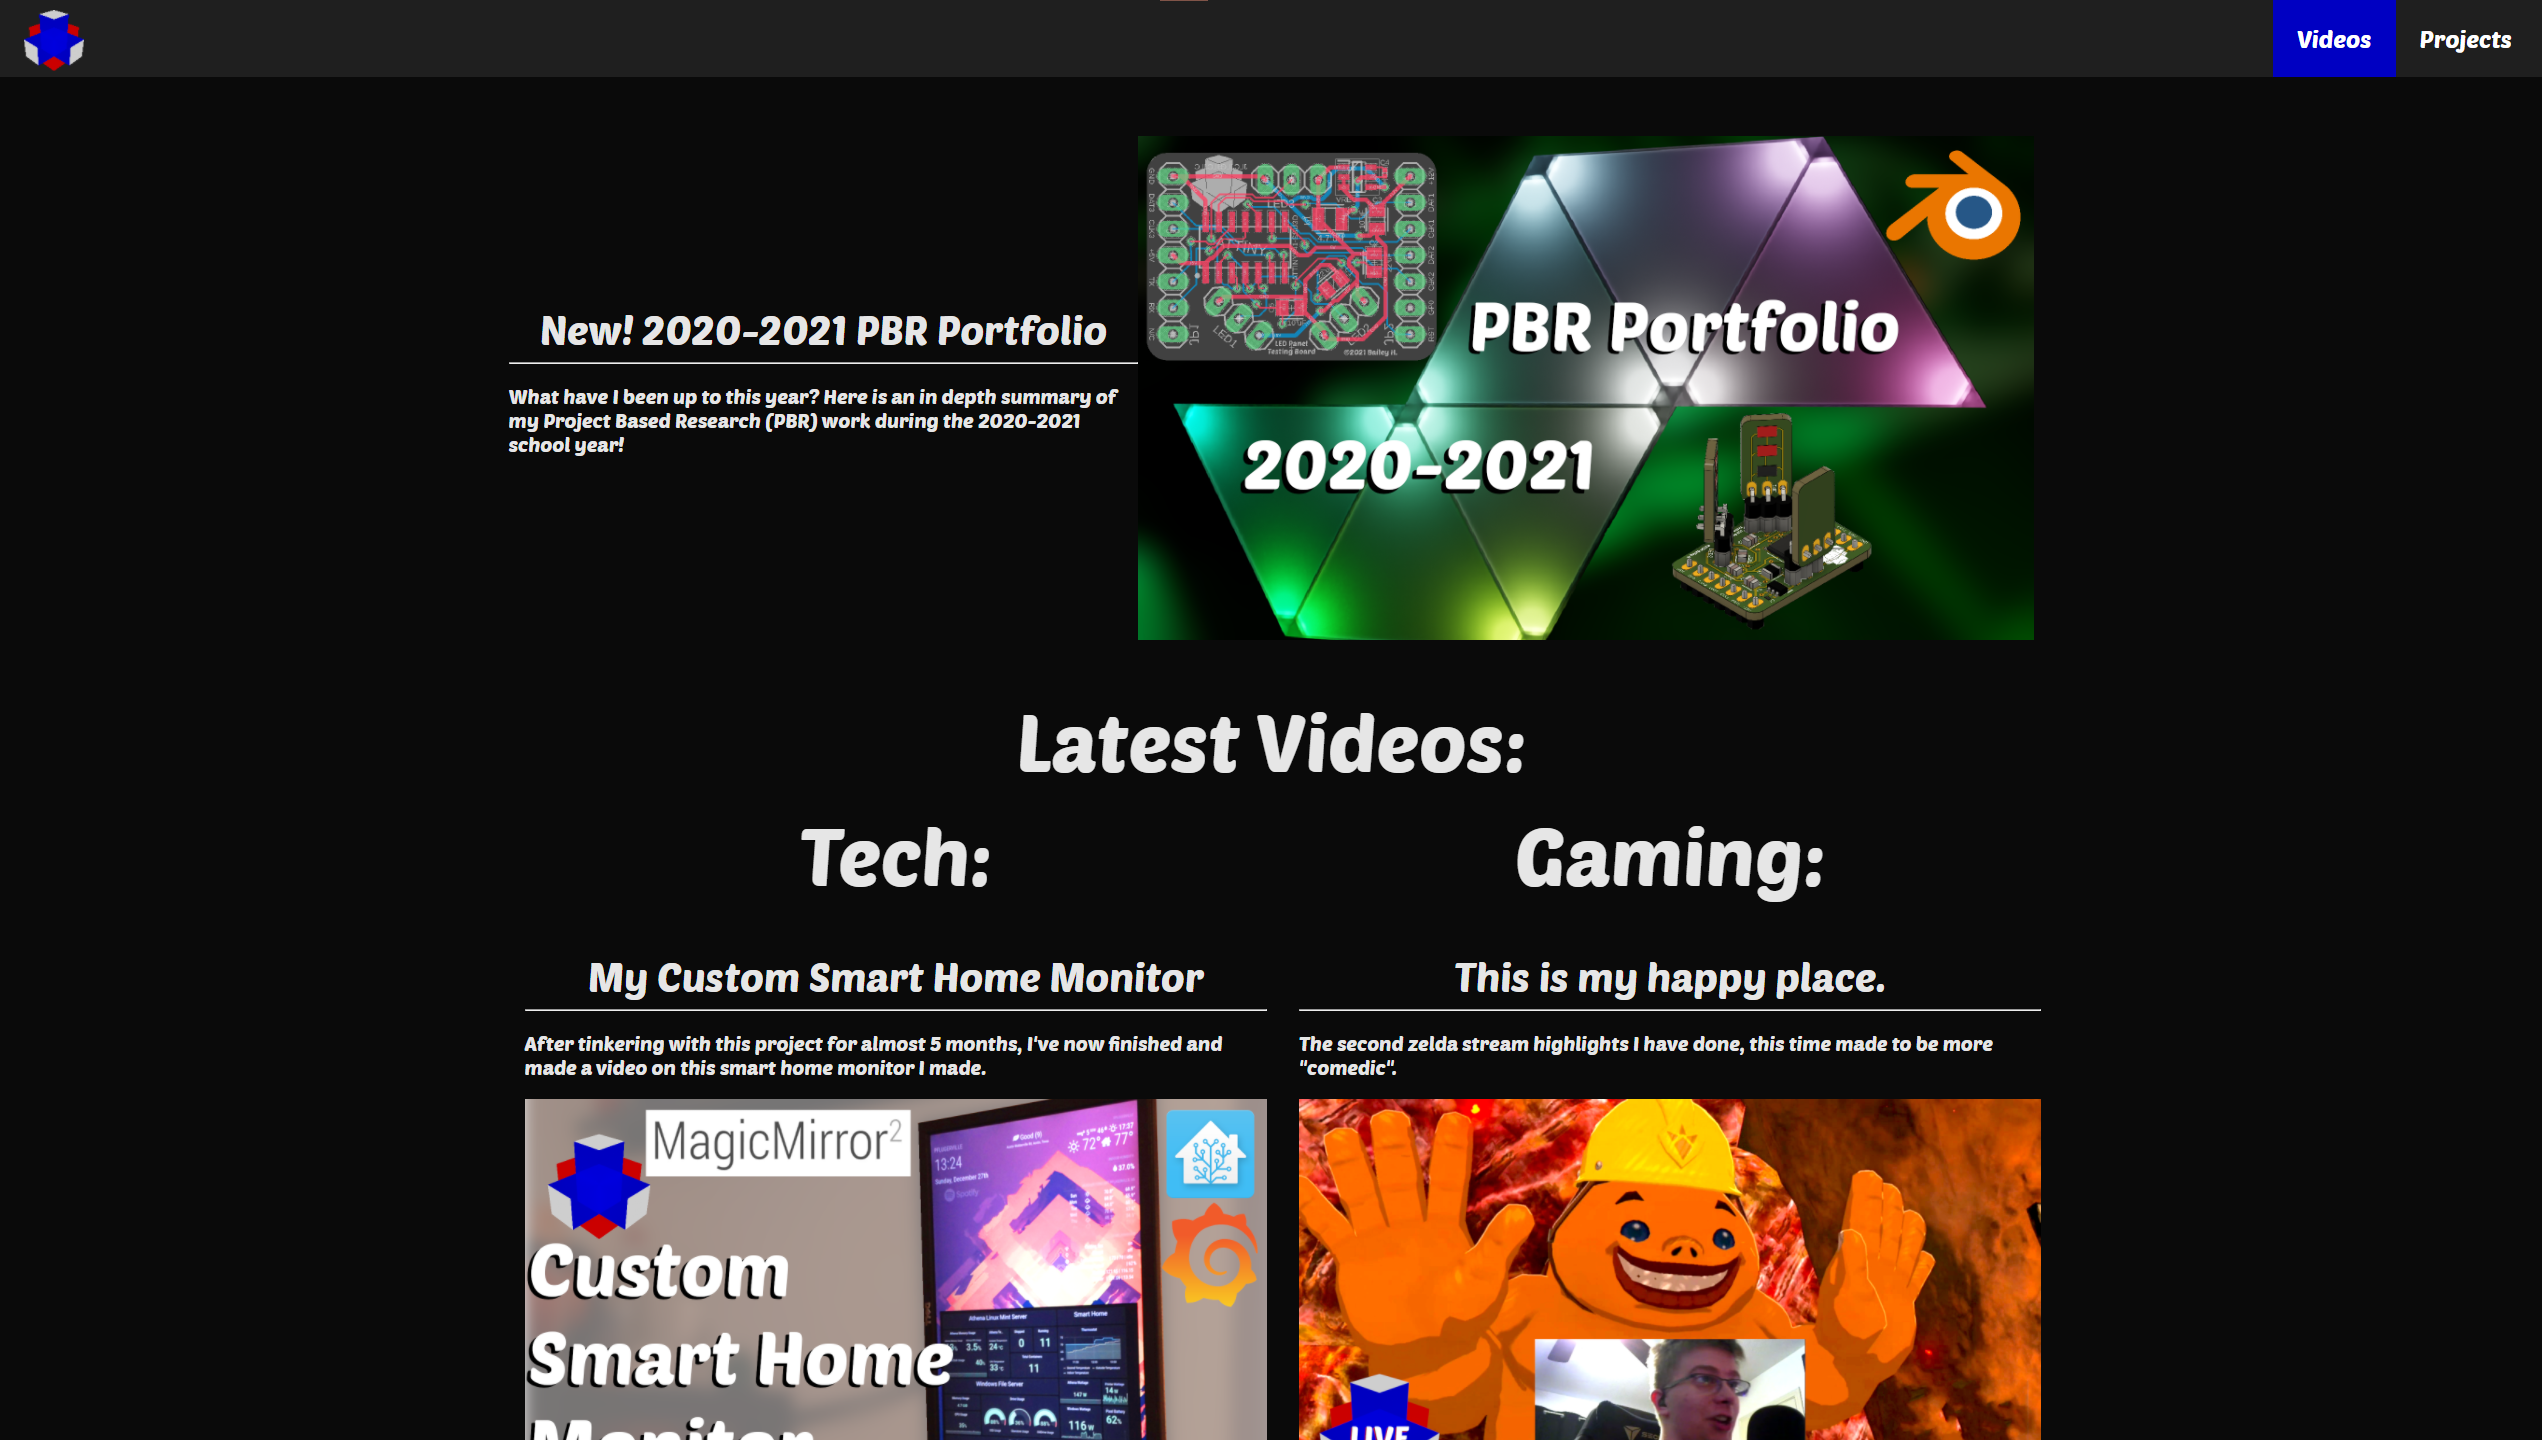 The state of my website as I write this
While this website definitely has a long way to go, I do think that its creation helped me grow as a creator and it will continue to give me a platform to archive things like this in the future.
Project Concepts and Friday Check-Ins
Finally, before I finish this off, I just want to give a list of some project ideas that I would like to pursue in the future. Some of these have sketches to go with them, but others will just have a general name and idea. This is mainly meant to be a “look inside my head” of what I would like to work on at this snapshot in time. How many of these will become full projects and/or videos?
New Modulin (Modulin 2.0)

Adjustable LED Flood Light

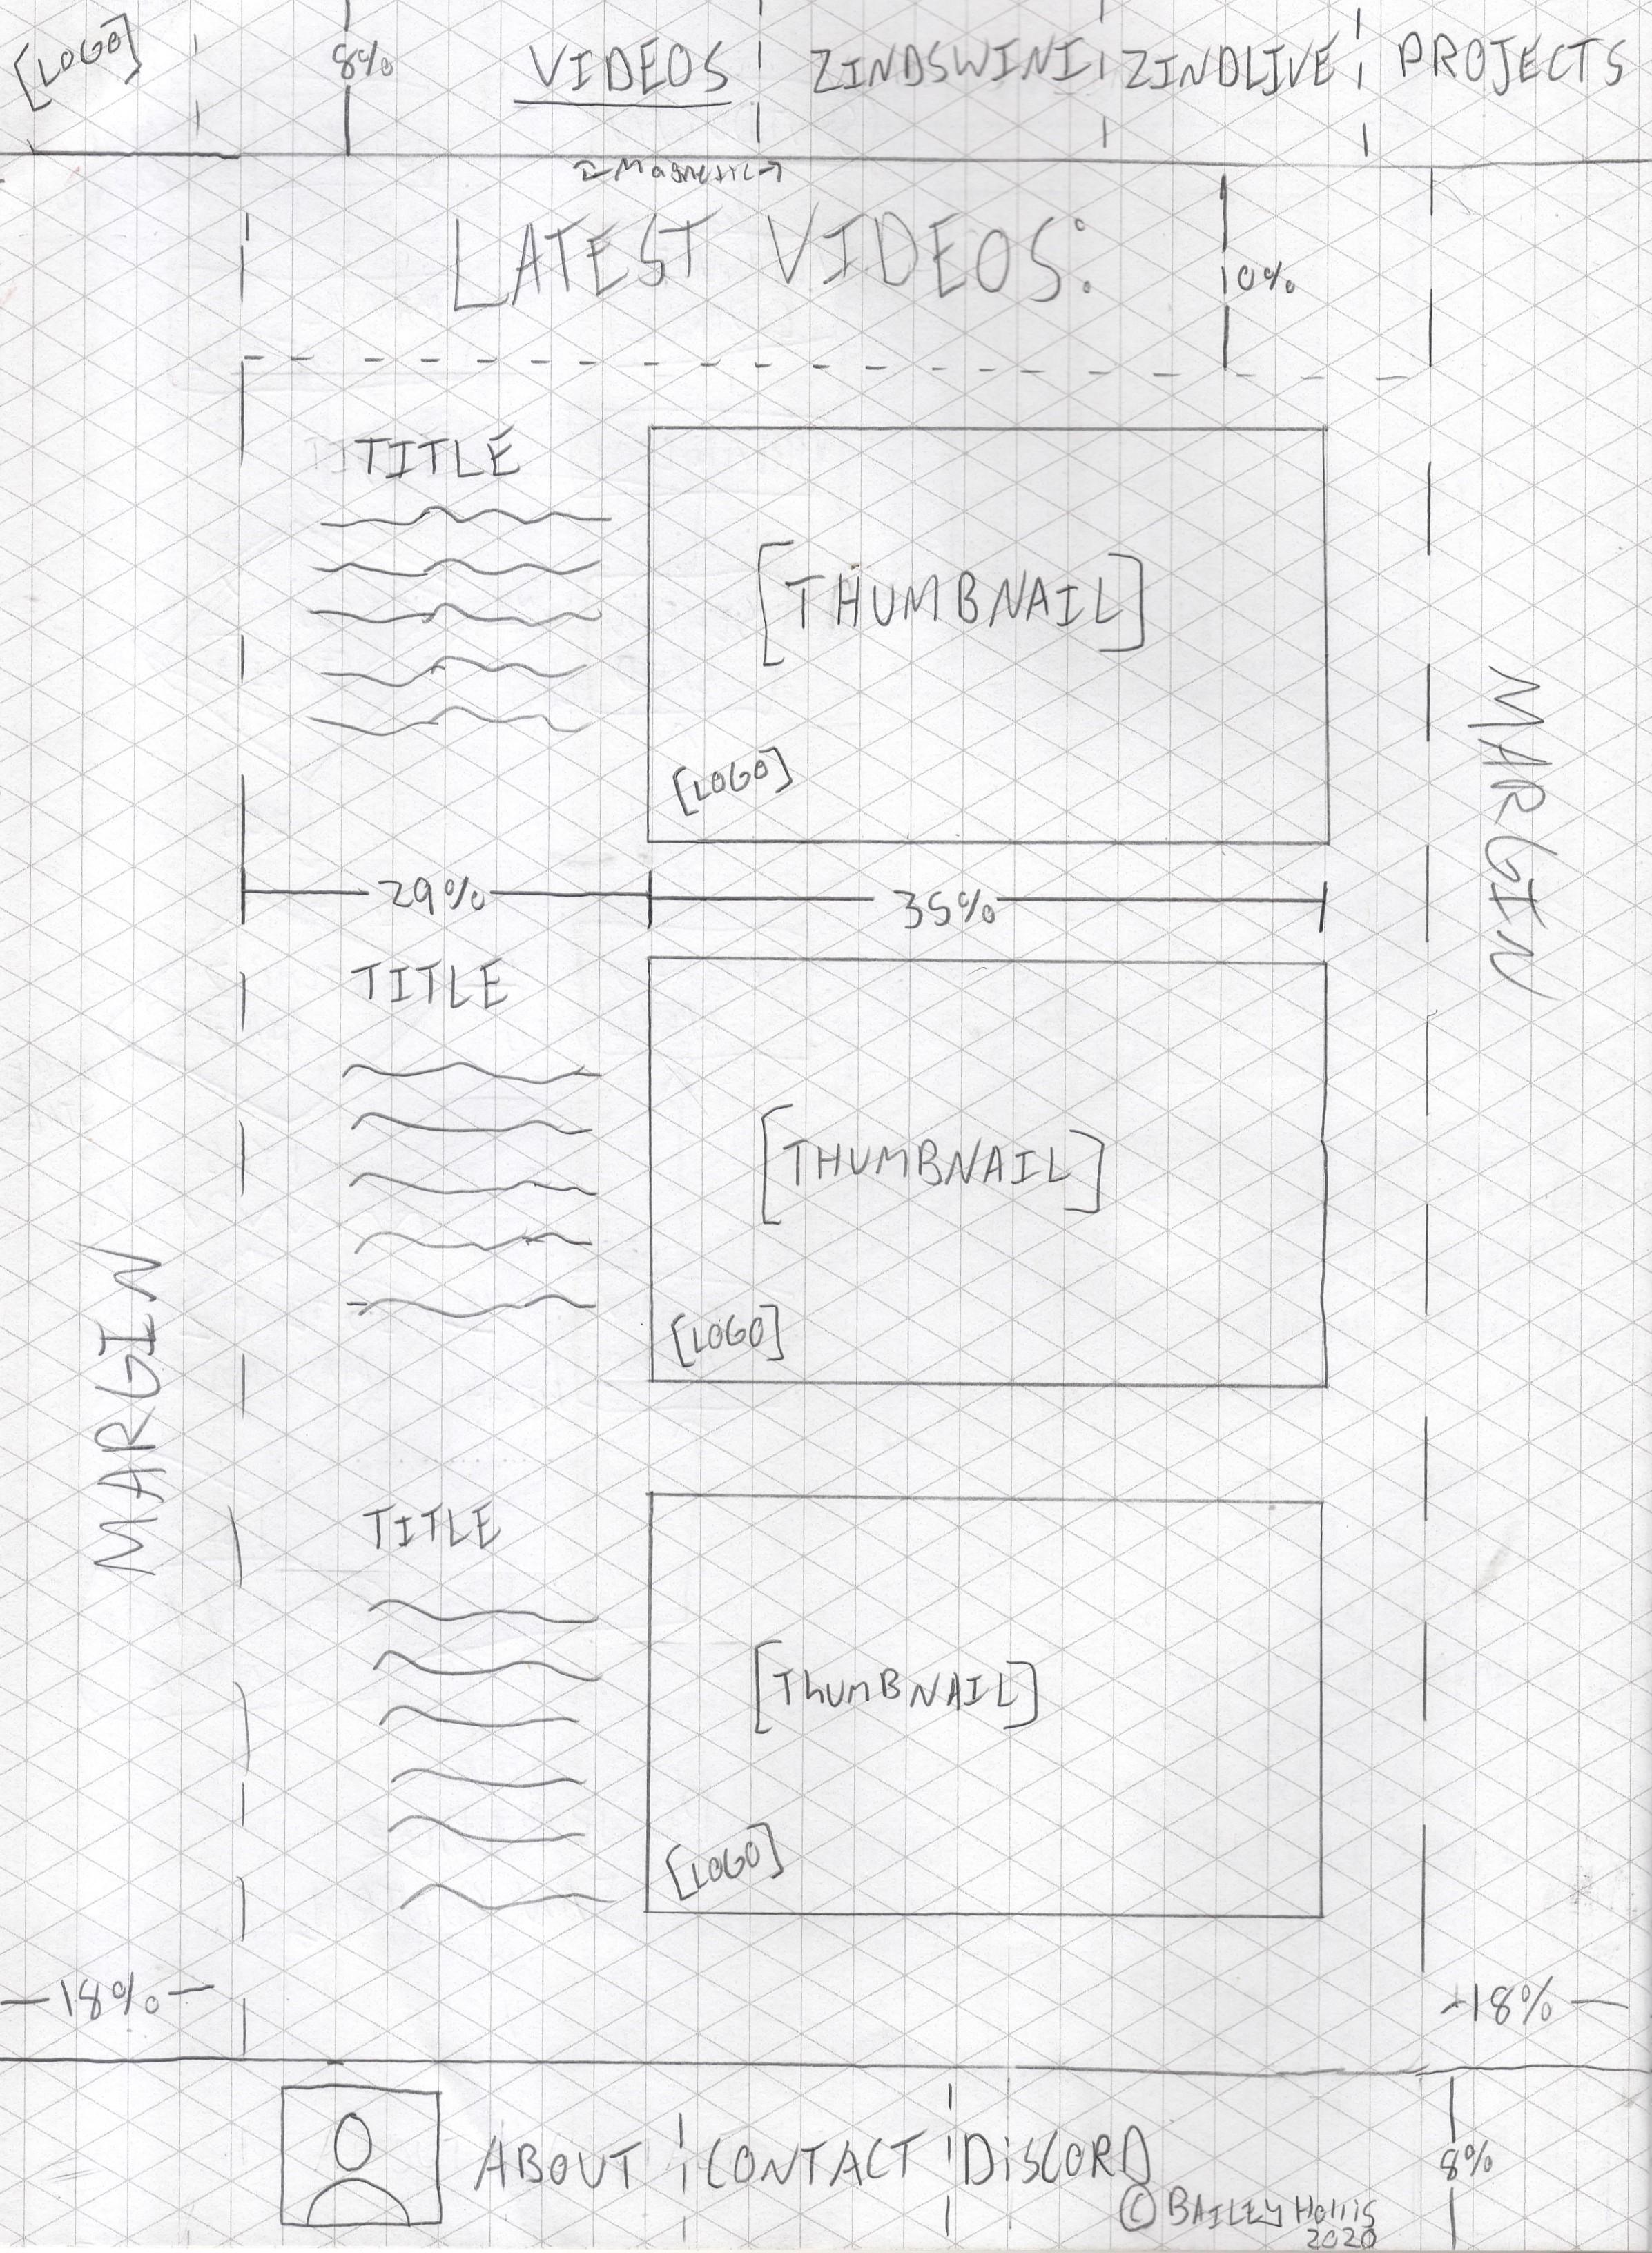
Original Website Concepts


Dell PowerEdge Fan Controller

Man of La Mancha Set Design

Technical Theater Book Prop
Additional Concepts:
All of these ideas are purely conceptual at this point, but I do have direct plans for some of them. Follow me to see if I end up successful in making them!
- LoraWAN IOT Weather Station Node
- Small Nixie-Style LCD Desk Clock
- Custom Wooden Record Display Boxes
- “Minecraft Style” GPS Compass
- DIY Smarthome Curtains
- Simple Footage Management Software (UI to append files, manage proxies)
Friday Check-In Write-ups
